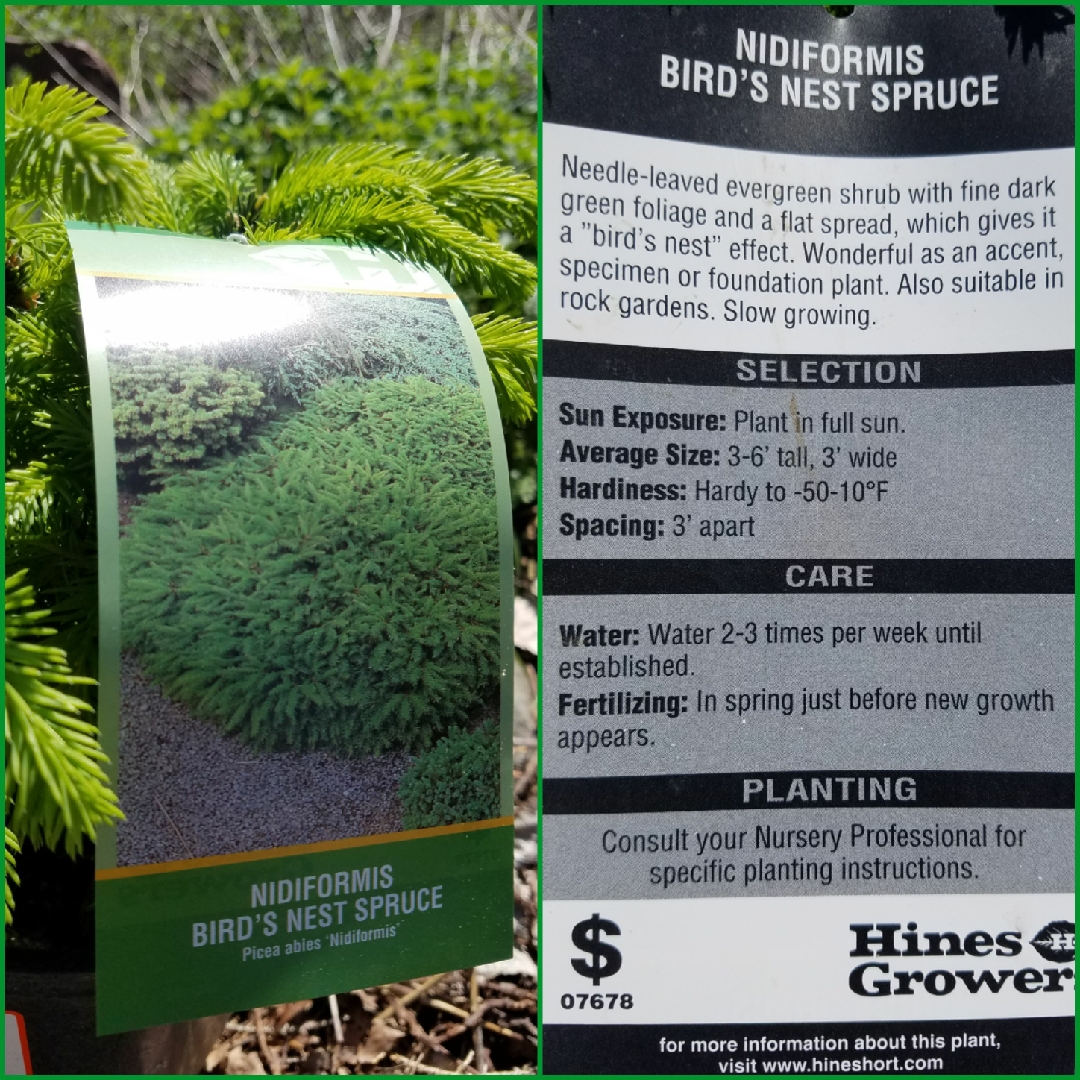
Picea abies 'Nidiformis'
Norway Spruce 'Nidiformis'
Spruce trees are evergreen conifers with needles, rather than leaves. The needles of a spruce can be identified by being attached individually to the twig, and they are 4-sided, and can be rolled between your fingers. Picea abies, the Norway Spruce is the most commonly cultivated of the spruce trees. It begins life with a conical shape and matures into a statuesque columnar tree form. It produces blunt, 4-sided, dark green leaves which point outwards and upwards, deep green female cones which eventually turn brown. 'Nidiformis' is a shrub form of Norway Spruce, flat-topped, dense, and wider than it is tall, bearing short dark green needles
Contributed by @SikoMa
-
Full sun
-
Occasional watering
-
Full Frost Hardy: 5F (-15°C)
-
Free draining and fertile
Common name
Norway Spruce 'Nidiformis'
Latin name
Picea abies 'Nidiformis'
type
Coniferous tree
family
Pinaceae
ph
5.0 - 7.0 Acid - Neutral
Plant & bloom calendar
-
Best time to plant
full grown dimensions
 104.00 M
1.50 M
Picea abies 'Nidiformis'
Spruce trees are evergreen conifers with needles, rather than leaves. The needles of a spruce can be identified by being attached individually to the twig, and they are 4-sided, and can be rolled between your fingers. Picea abies, the Norway Spruce is the most commonly cultivated of the spruce trees. It begins life with a conical shape and matures into a statuesque columnar tree form. It produces blunt, 4-sided, dark green leaves which point outwards and upwards, deep green female cones which eventually turn brown. 'Nidiformis' is a shrub form of Norway Spruce, flat-topped, dense, and wider than it is tall, bearing short dark green needles
Planting Season (Autumn)
From Mid Autumn TO Late Autumn
Plant out container grown plants in mid to late Autumn. Choose a partially shady, or full sun, site in acid soil
Propagate by Seed
From Early Spring TO Mid Spring
Collect cones from a spruce tree, and leave to dry in a paper bag until the seeds fall out. Store the seeds in a plastic bag in your freezer until mid Spring, when you should take them out of the freezer and soak the seeds in water for 24 hrs., then wrap the seeds in some kitchen paper and refrigerate them for 6 weeks. After this, germinate the seeds by placing them on wet kitchen paper, cover them with plastic, and check daily to make sure the kitchen towel is wet. The seeds should germinate within 3 weeks. Transfer the germinated seeds carefully (using tweezers to handle them) into CLEAN pots 3/4 filled with potting compost (preferably ericaceous). Place the seedlings on top of the compost and then carefully cover them with sand.Place the pt in indirect sunlight, keep the soil moist - not wet - until the seedlings are big enough to plant outside. Harden them off by putting the pot outdoors daily for a few days to acclimatise them.


