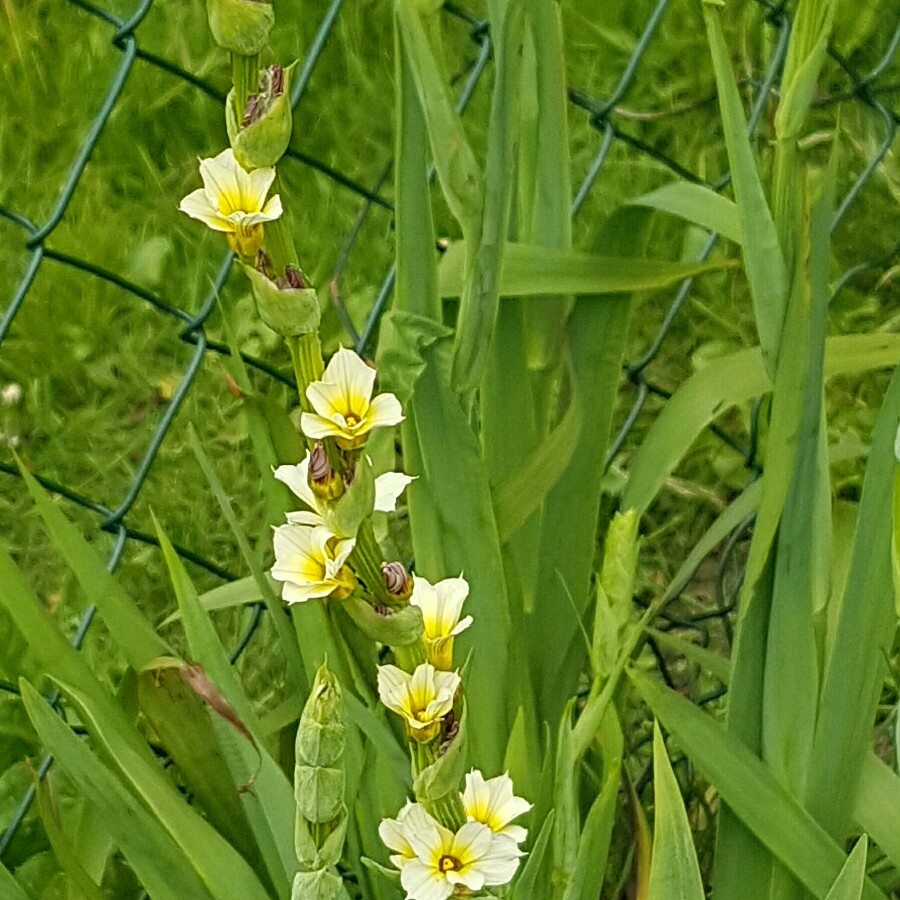
Sisyrinchium striatum
Yellow Eyed Grass
Sisyrinchium is an evergreen, clump-forming plant, with iris-like foliage. The starry flowers appear along the upright stems that form spikes in Summer. The flowers of Sisyrinchium Striatum are pale yellow.
Contributed by @wndy16
-
Full sun
-
Occasional watering
-
Full Frost Hardy: 5F (-15°C)
-
Free draining
Common name
Yellow Eyed Grass
Latin name
Sisyrinchium striatum
type
Herbaceous Perennials
family
Iridaceae
ph
6.6 - 7.8 Acid - Neutral
Plant & bloom calendar
-
Best time to plant
-
When the plant will bloom
full grown dimensions
 0.10 M
0.90 M
Sisyrinchium striatum
Sisyrinchium is an evergreen, clump-forming plant, with iris-like foliage. The starry flowers appear along the upright stems that form spikes in Summer. The flowers of Sisyrinchium Striatum are pale yellow.
Planting
From Early Spring TO Mid Spring
Plant in well-draining, neutral to slightly alkaline Ph soil, in a sunny position in Spring. Light shade will be tolerated, but full sun is preferred
Flowering
From Late Spring TO Early Summer
Flower spikes appear in late Spring to early Summer
Propagate by division
From Early Spring TO Late Spring
Divide and replant every 3 or 4 years if required, Using a fork dig up plant, trying to keep the root ball as complete as possible. Split the root ball at the centre with a sharp knife or a spade, or by placing two garden forks back-to-back into the middle of the root ball, and pushing the fork handles apart.to lever the root ball apart. Replant the new clumps to the same depth as the original, and water well. Keep well watered until established.


